
Complete Installation Guide
Fountain Installation Protocol.
Transform your outdoor space with a stunning illuminated water display using our professional-grade Ocean Mist system.
Expert Water Feature Solutions
+1 (972) 650-1855
Our technical specialists are available to guide your installation from start to finish. Contact us for custom designs and expert guidance.
Get QuoteProfessional Setup.
WDM Lighting specializes in LED floating fountain systems and professional water feature lighting. Our comprehensive installation guide covers everything from pond fountains to pool lighting systems, ensuring successful setup of your illuminated water display.
Whether you're installing in a residential pond, commercial lake, or pool environment, our expert guidance and premium equipment deliver professional results with easy DIY installation.
Installation Tutorial.
Follow along with our detailed video guide for professional fountain installation results.
Watch Complete Video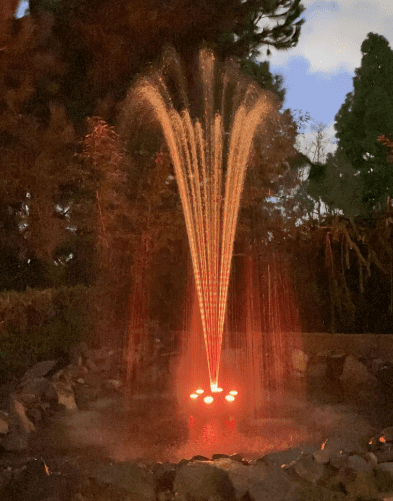
The Ocean Mist PJ 3000 Kit.
Your complete system includes everything required for professional water feature installation:
Floating Ring
Detachable floating ring with 19" diameter submersible LED light ring for stable positioning.
High-Power Pump
Jebao KF33000 high-flow, variable-speed pump for optimal water circulation and spray height.
Multiple Nozzles
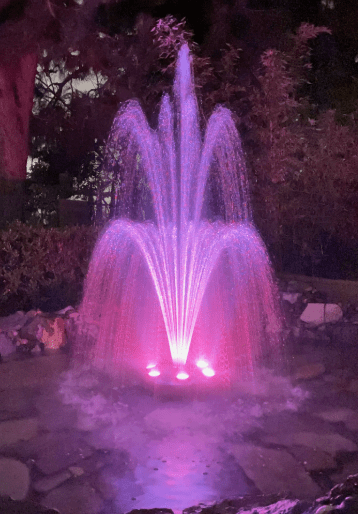
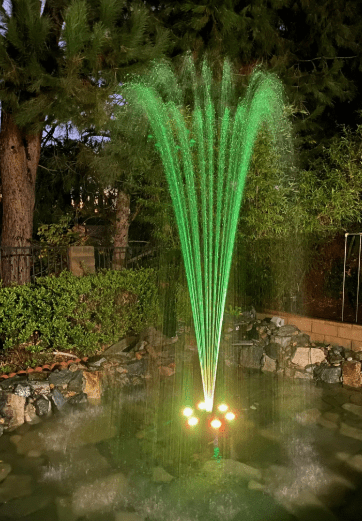
Includes M-Nozzle, Spectacular (Two-Tier), and concentrated Trumpet nozzles for custom styles.
Power & Control
12VAC transformer with 33ft cord, 60+ ft pump power cord, and integrated remote control system.
Filtration
Industrial pump filter bag to prevent debris clogging and ensure long-term, maintenance-free operation.
LED System
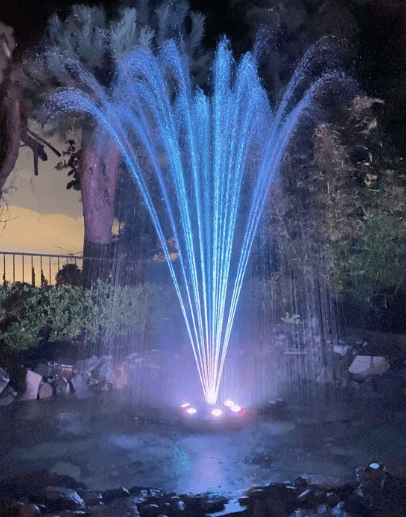
Smart RGB LED lighting with photocell sensors and programmable color-changing effects.
Installation Protocol.
Choose Optimal Location
Select a calm, open area in your pond, pool, or lake for maximum water feature impact.
Critical requirement: The fountain must be placed in at least 24 inches (2 feet) of water depth to prevent debris from clogging the pump system and ensure proper operation.
- • Avoid areas with strong currents or heavy boat traffic.
- • Ensure proximity to GFCI-protected electrical outlets.
- • Provide adequate clearance for the 9-foot spray pattern.
Assemble the System
The LED lights and floating ring are shipped separately for protection. Careful assembly is required:
- Attach LED Light Ring: Securely screw the LED ring to the floating ring assembly.
- Connect Pump Unit: Install the pump unit into the bottom of the float mechanism.
- Install Nozzle: Select and secure your preferred nozzle type on top of the pump.
- Tighten Connections: Ensure all connections are firm but avoid over-tightening.
Safety Note: Handle components carefully as some parts have sharp edges during assembly.
Install Anchoring
Proper anchoring prevents fountain drift and ensures consistent water display positioning:
- Shallow Water: Use rocks, stakes, or weights for secure positioning.
- Deep Lakes: Install a submerged anchor system to prevent drifting in high wind.
- Pools: Ensure anchoring does not damage the pool surface or liner.
Connect Electrical Power
Standard Electrical Models:
- • Connect flow controller to GFCI-protected outdoor outlet (Required for Safety).
- • Attach pump and LED power cords to the controller system.
- • Use waterproof extension cords if the outlet is distant from the water feature.
Solar-Powered Models:
- • Position solar panel in a direct sunlight location.
- • Adjust panel angle for maximum daily energy absorption.
- • Ensure battery backup system is properly connected.
Performance Optimization
Complete system activation and fine-tuning for optimal water feature performance:
- Activation: Power on and observe LED lights and water spray operation.
- Remote Setup: Test functions (150-foot range) to adjust height and color.
- Inspection: Check for leaks, misalignment, or performance issues.
- Photocell: Configure automatic sunrise/sunset operation if desired.
